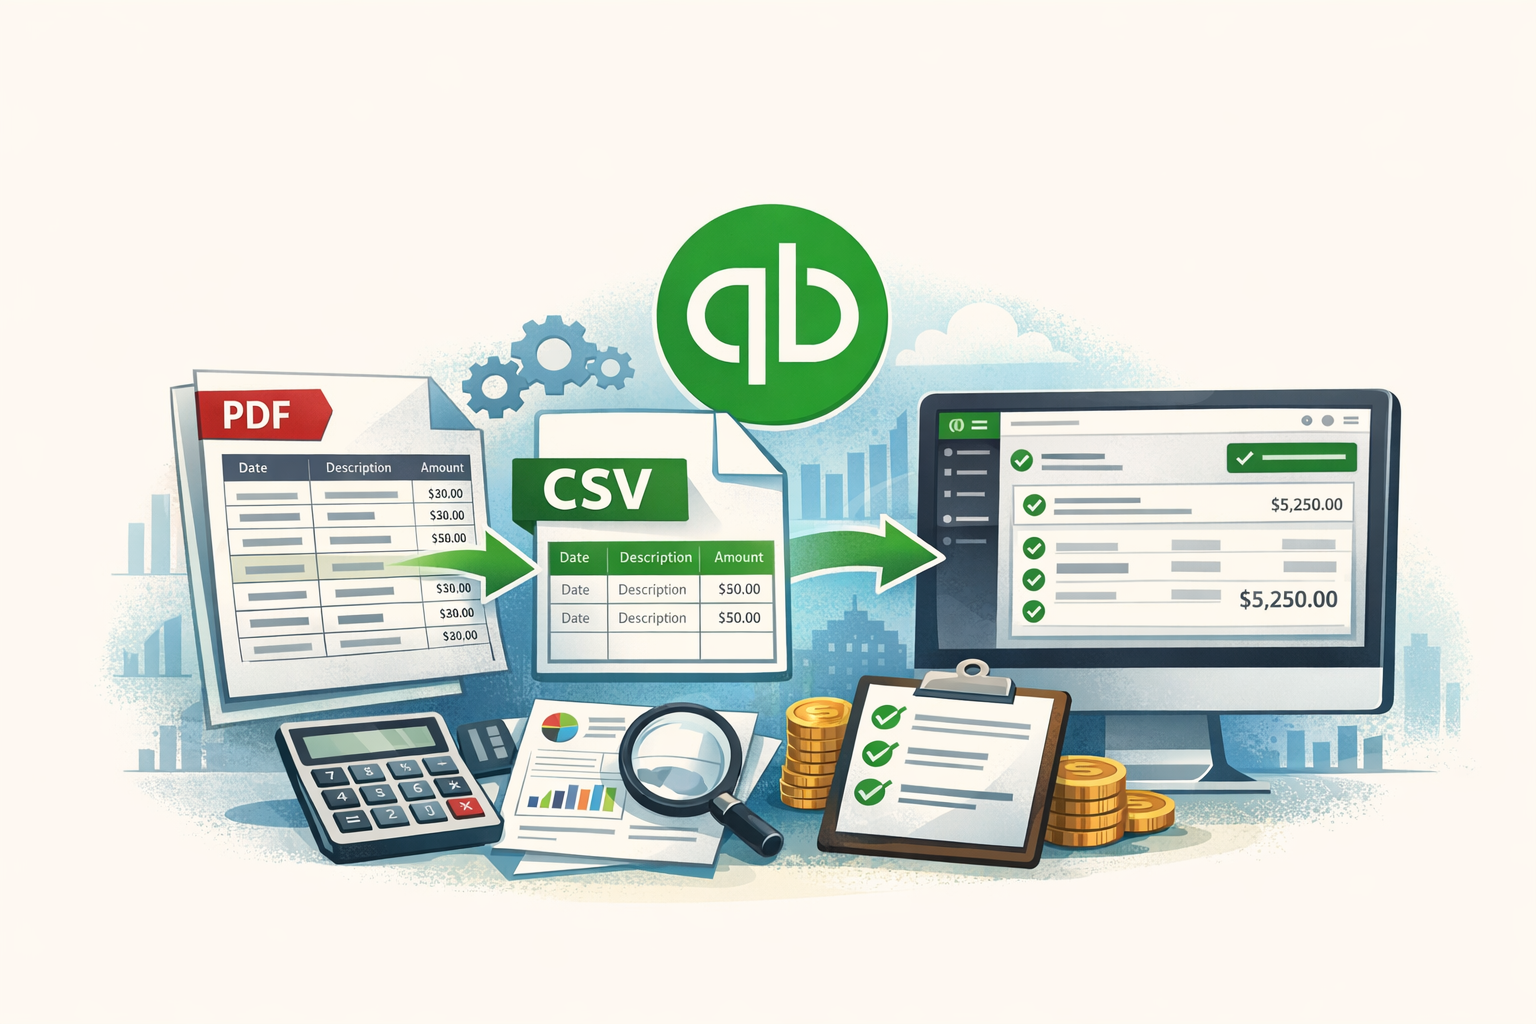
Your Complete Guide to Bank Statement CSV for QuickBooks Reconciliation
Master QuickBooks reconciliation using CSV bank statements. This guide details automated PDF to CSV conversion, essential formatting for flawless integration, step-by-step importing into QuickBooks Online and Desktop, and troubleshooting common challenges to streamline your financial management. Discover how Bank Statements CSV ensures accuracy and security.
Your Complete Guide to Bank Statement CSV for QuickBooks Reconciliation
Choosing the Right CSV Source for QuickBooks
This section compares various methods of acquiring bank statement data in a CSV format suitable for QuickBooks, helping users understand the pros and cons of each. It highlights the value proposition of automated PDF to CSV conversion in this context.
Manual Data Entry vs. Automated Extraction
Explains the time, accuracy, and cost implications of manually entering transaction data compared to using automated tools for CSV generation.
Direct Bank Downloads: Limitations and Benefits
Discusses when direct bank CSV downloads are feasible, their common formatting inconsistencies, and why they might not always be the ideal solution for QuickBooks.
The Power of PDF to CSV Conversion for Reconciliation
Showcases how converting PDF bank statements to CSV with advanced AI offers a secure, accurate, and efficient solution for creating QuickBooks-ready files, particularly when other methods fall short.
Preparing Your CSV for Flawless QuickBooks Integration
This section provides best practices and essential formatting tips to ensure your CSV file is perfectly structured for seamless import and reconciliation in QuickBooks.
Essential CSV Column Headers for QuickBooks
Outlines the critical column names and data types QuickBooks expects (e.g., Date, Description, Amount) to prevent import errors and ensure proper categorization.
Formatting Dates, Amounts, and Transaction Types
Details the correct date formats, currency representations, and how to handle positive/negative amounts for deposits and withdrawals to align with QuickBooks requirements.
Handling Split Transactions and Wrapped Descriptions
Guides on managing complex transaction details, ensuring all relevant information is captured and formatted correctly for clear reconciliation and audit trails.
Step-by-Step Importing Bank Statement CSV into QuickBooks
This guide walks users through the process of bringing their prepared CSV files into QuickBooks Online and Desktop, setting the stage for efficient reconciliation.
QuickBooks Online: Uploading and Mapping Your CSV
Provides clear instructions on navigating the QuickBooks Online interface to import CSVs, including mapping columns and reviewing initial transaction data.
QuickBooks Desktop: Importing and Preparing for Matching
Details the import process for QuickBooks Desktop users, focusing on the steps to take once the CSV is uploaded to prepare transactions for reconciliation.
Streamlining Bank Reconciliation with CSV Data
This section focuses on leveraging imported CSV data to perform accurate and efficient bank reconciliations within QuickBooks, enhancing financial oversight.
Matching Transactions: Automated vs. Manual Review
Explains how QuickBooks' intelligent matching works with imported CSV data and offers strategies for manually matching transactions that require review.
Categorizing and Classifying CSV-Imported Transactions
Guidance on effectively categorizing expenses and income from CSV data to maintain organized financial records and generate accurate reports.
Reconciling Accounts Using Your Prepared CSV
A detailed walkthrough of the bank reconciliation process in QuickBooks using imported CSV data, highlighting how to identify and resolve discrepancies quickly.
Troubleshooting Common CSV Import and Reconciliation Challenges
Addresses frequent issues users encounter when working with bank statement CSVs in QuickBooks, providing practical solutions and preventative measures.
Resolving Data Quality and Formatting Errors
Tips for identifying and correcting common CSV errors such as incorrect date formats, missing values, or misplaced data that can hinder successful imports.
Addressing Duplicate Transactions and Missing Data
Strategies for dealing with duplicate entries post-import and methods to ensure no essential transaction data is missed during the conversion and import process.
Overcoming QuickBooks Error Messages During CSV Upload
Explains common QuickBooks error codes related to CSV imports and offers specific solutions to get past these roadblocks efficiently.
Comparison Table: CSV Preparation Methods for QuickBooks Reconciliation
| Method | Accuracy | Speed | Cost (Time/Labor) | Ease of QuickBooks Integration | Security/Privacy | Handles Complex Statements |
|---|---|---|---|---|---|---|
| Manual Data Entry | Low (Prone to errors) | Very Slow | Very High | Low (Requires manual cleanup) | User dependent | Difficult |
| Direct Bank Downloads | Medium (Inconsistencies) | Medium | Medium | Medium (Often requires formatting) | Varies by bank | Limited |
| Automated PDF to CSV (Bank Statements CSV) | High (99.9% AI accuracy) | Very Fast | Very Low | High (QuickBooks-ready format) | High (Enterprise-grade encryption) | Excellent |
Preparing Your CSV for Flawless QuickBooks Integration
Once you have your bank statement data in CSV format, a few essential preparation steps ensure a seamless import and reconciliation process within QuickBooks.
Essential CSV Column Headers for QuickBooks
QuickBooks requires specific column headers to correctly interpret your transaction data. Common essential headers include:
- Date: The date of the transaction.
- Description: A clear description of the transaction (e.g., vendor name, transaction type).
- Amount: The monetary value of the transaction.
- Payee/Name: The person or company involved in the transaction (optional but helpful).
Bank Statements CSV automatically formats your output to be readily compatible, minimizing the need for manual adjustments to these critical columns.
Formatting Dates, Amounts, and Transaction Types
Correct formatting is key to preventing import errors:
- Dates: Use consistent date formats (e.g., MM/DD/YYYY or DD/MM/YYYY). QuickBooks is generally flexible, but consistency helps.
- Amounts: Ensure monetary values are pure numbers, without currency symbols (e.g., $1,234.50 should be 1234.50). Positive values typically represent deposits/income, and negative values represent withdrawals/expenses. If your bank statement represents withdrawals as positive, you might need to adjust them (e.g., multiply by -1) before import.
- Transaction Types: While not a direct column, the 'Description' or 'Memo' field should clearly distinguish between different transaction types for easier categorization later.
Handling Split Transactions and Wrapped Descriptions
Complex transactions, such as a single payment covering multiple expenses (split transactions), or descriptions that wrap onto multiple lines in a PDF, require careful handling. Bank Statements CSV's advanced AI excels at accurately extracting and structuring these intricate details. For audit-ready records, it's crucial that all relevant information is captured in a way that allows for clear reconciliation. Our solution ensures wrapped descriptions are properly handled, maintaining data integrity.
Step-by-Step Importing Bank Statement CSV into QuickBooks
With your perfectly formatted CSV in hand, it's time to bring your financial data into QuickBooks. The process varies slightly between QuickBooks Online and Desktop versions.
QuickBooks Online: Uploading and Mapping Your CSV
- Navigate to Banking: In QuickBooks Online, go to
Transactions>Banking. - Upload from File: Click
Link account(orUpload transactionsif already linked) and selectUpload from file. - Browse and Upload: Choose your prepared CSV file from your computer and click
Continue. - Map Columns: QuickBooks will prompt you to map your CSV columns (e.g., 'Date', 'Description', 'Amount') to its own fields. Carefully match them.
- Review and Import: Review the data for accuracy before finalizing the import. QuickBooks will then bring the transactions into your 'For Review' tab.
QuickBooks Desktop: Importing and Preparing for Matching
- Choose Import Option: In QuickBooks Desktop, go to
File>Utilities>Import>Web Connect Files(orExcel Filesdepending on your QuickBooks version and setup). - Select CSV: Browse for your CSV file and select it.
- Map Fields: You'll be guided through mapping your CSV fields to QuickBooks fields. This step is critical for accurate data placement.
- Choose Account: Select the QuickBooks bank account you want to import the transactions into.
- Review and Process: QuickBooks will process the import, making the transactions available for matching within your bank feeds.
Streamlining Bank Reconciliation with CSV Data
Once your bank statement data is imported via CSV, QuickBooks becomes a powerful tool for reconciliation. Leveraging this data effectively can significantly enhance your financial oversight.
Matching Transactions: Automated vs. Manual Review
QuickBooks is designed with intelligent matching capabilities that attempt to automatically pair imported CSV transactions with existing entries in your books (e.g., invoices, payments). This automation is a huge time-saver. However, some transactions may require manual review due to slight discrepancies in amounts, dates, or descriptions. It's important to understand how to:
- Accept Matches: Quickly approve transactions that QuickBooks confidently matches.
- Manually Match: Drag and drop or manually select transactions that correspond, but weren't automatically matched.
- Add New Transactions: Create new entries in QuickBooks for transactions that exist in your CSV but not yet in your accounting software.
Categorizing and Classifying CSV-Imported Transactions
Effective categorization is vital for accurate financial reporting. After import, dedicate time to categorize expenses and income from your CSV data. QuickBooks learns from your categorizations, so consistency pays off. Utilize rules and memorized transactions to automate recurring categorizations, ensuring your financial records are organized, and reports (like Profit & Loss and Balance Sheet) are precise.
Reconciling Accounts Using Your Prepared CSV
With your transactions matched and categorized, the final step is to reconcile your bank account in QuickBooks. This process confirms that the balance in your QuickBooks register matches your actual bank statement.
- Initiate Reconciliation: Go to
Accounting>Reconcilein QBO orBanking>Reconcilein QBD. - Enter Statement Details: Input the ending balance and date from your actual bank statement.
- Review Cleared Transactions: Mark all cleared transactions (those that appear on both your bank statement and in QuickBooks) as reconciled. Your imported CSV data will be invaluable here.
- Identify Discrepancies: Quickly spot any transactions that are in QuickBooks but not on your statement, or vice versa, to investigate and resolve. This structured approach, powered by your accurate CSV data, makes identifying and resolving discrepancies much faster.
Troubleshooting Common CSV Import and Reconciliation Challenges
Even with the best preparation, you might encounter issues. Here's how to tackle common CSV import and reconciliation challenges.
Resolving Data Quality and Formatting Errors
If QuickBooks throws an error during import, it's often due to incorrect data formatting. Common culprits include:
- Date Format Mismatch: Double-check that dates in your CSV match a format QuickBooks expects.
- Amount Issues: Ensure amounts are numbers only, with correct positive/negative signs.
- Missing or Mapped Incorrectly: Verify all essential columns are present and correctly mapped.
One of the significant advantages of using Bank Statements CSV is that our service provides highly structured and clean CSV output, drastically reducing these common data quality issues upfront, and ultimately saving you considerable time in troubleshooting.
Addressing Duplicate Transactions and Missing Data
Duplicates can occur if you accidentally import the same CSV twice or if a transaction was already manually entered. Missing data can happen if your original PDF was complex or poorly scanned, but this is rare with our AI.
- Duplicates: In QuickBooks, review your 'For Review' or bank feed section. Often, QuickBooks will flag potential duplicates. You can also filter transactions by date to spot them. Delete or exclude duplicate entries carefully.
- Missing Data: If you suspect missing transactions, compare your QuickBooks data against the original PDF statement. Our AI-driven conversion significantly mitigates the risk of missing transactions from multi-page statements, providing a complete dataset.
Overcoming QuickBooks Error Messages During CSV Upload
QuickBooks error messages, though sometimes cryptic, usually point to specific issues. Common messages include errors related to file format, header mismatches, or invalid data types. If you encounter an error:
- Check the QuickBooks help documentation: Specific error codes often have dedicated troubleshooting steps.
- Review your CSV file meticulously: Look for any anomalies in the problematic rows or columns. Often, a small formatting error in one cell can halt the entire import.
- Consider a smaller batch: If importing a very large file, try splitting it into smaller CSVs to identify where the error might be occurring.
- Utilize Bank Statements CSV's accurate output: By starting with a precisely formatted CSV from Bank Statements CSV, you dramatically reduce the likelihood of encountering these errors in the first place, ensuring a smoother import process.